How To Host Your WordPress (Or Other) Website For Free (Step By Step)
You want to start a website for free but you haven’t found a trusty way yet. I will explain step by step how you can host your WordPress site for free. We will use WordPress because it is the most popular platform to build a website without coding knowledge.
Here are the steps for hosting a wordpress site for free:
1.) Buy a cheap domain or use a free subdomain
2.) Create a 000webhost.com account
4.) Connect your custom domain to your hosting account
5.) Set up Cloudflare for *semi-secure connection
Hosting a website for free is fun and it is a nice way to learn how things work in the backend and familiarize yourself with WordPress. The bad thing is that there are limitations. So, for commercial sites, I suggest paid hosting. Check my previous post: Where to buy a domain name and hosting (what I use and why)
To set up our site and only for the first time we will switch between the 3 sites i mentioned previously. So sign up for all these 3 and keep the tabs open. I explain each step with screenshots and detailed instructions.
1.) Buy a cheap domain or use a free subdomain
For my example, I will use a domain that I already own. You usually need to pay 8-14 dollars per year for a .com domain. Try to check different registrars and for their coupons online. You will always find a very good price for the first year as a new customer. Be aware that for the next years renewal price would be at least 8 dollars!
Godaddy offers usually 0.99$ for the first year and for new customers but then the renewal price is 10$+. Other registrars such as Dynadot or namesilo have more stable prices around 8 – 9 dollars each year.
For this guide, I tried to use some sites that claim they offer free domains ( .tk extension and others). After reading the reviews and tried some myself I strongly advise against using them.
If you don’t want to spend so much money on a domain name, there are some inexpensive options. Let’s see them:
.top domain ($1.99 for the first year, $4.99 for the rest) Use that link from Dynadot (affiliate)
.eu domain, applies only for EU citizens. You pay $3.99 for the first year and then $5.99 for the rest
.vip domain, $4.18 for the first year and then $6.99 for the next ones.
If you don’t have a problem using a subdomain like then you can move totally free. After you have the domain name you can move to the next step.
2.) Create a 000webhost.com account
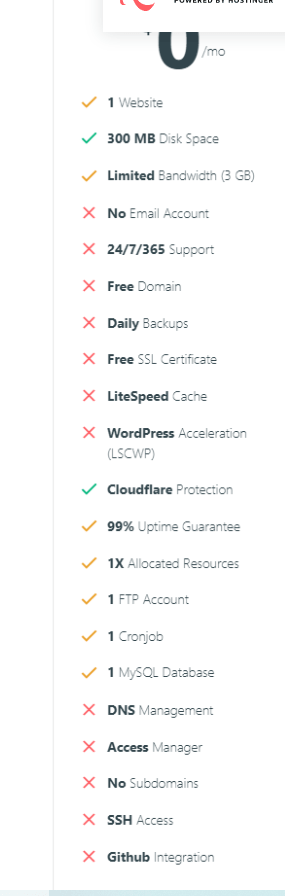
000webhost.com belongs to Hostinger and it is good enough option for hosting a website for free and familiarize yourself. Be aware that they are limitations and if your site gets a lot of traffic you need to upgrade to a premium plan. This is why Hostinger offers that service, it is something like a free trial.
We will sign up for 000webhost. Here how the sign-up page looks like and on the other screenshot you can see what they offer with the free plan.
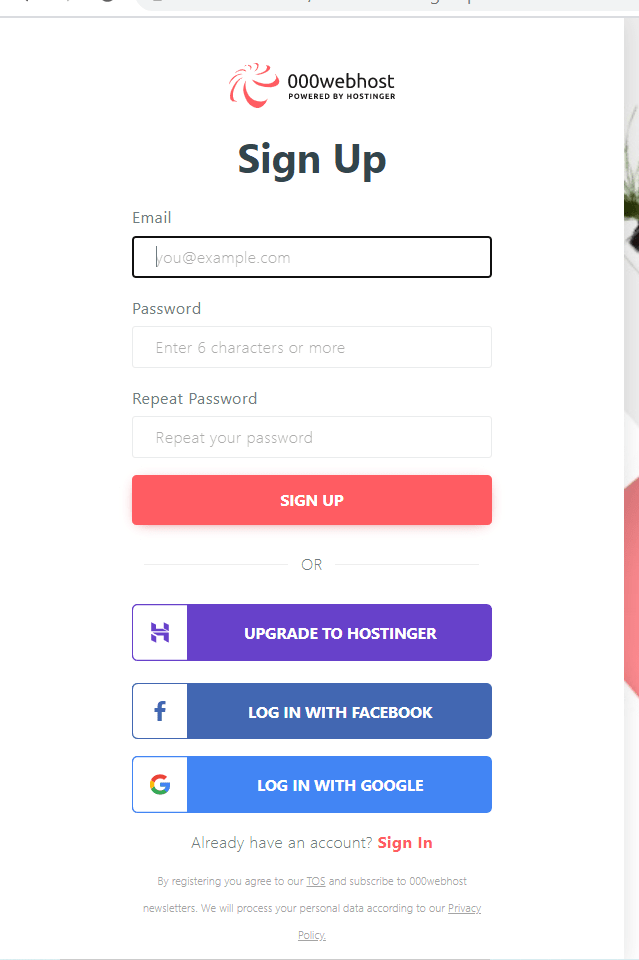
We will need 3 different usernames and passwords for establishing our account. You can use the same password for all of these 3 sections, just make it long enough (8 characters long). Write down everything so you don’t forget the usernames and passwords.
1.) For 000webhost.com initial sign up. You have the option to sign in with Google or Facebook too.
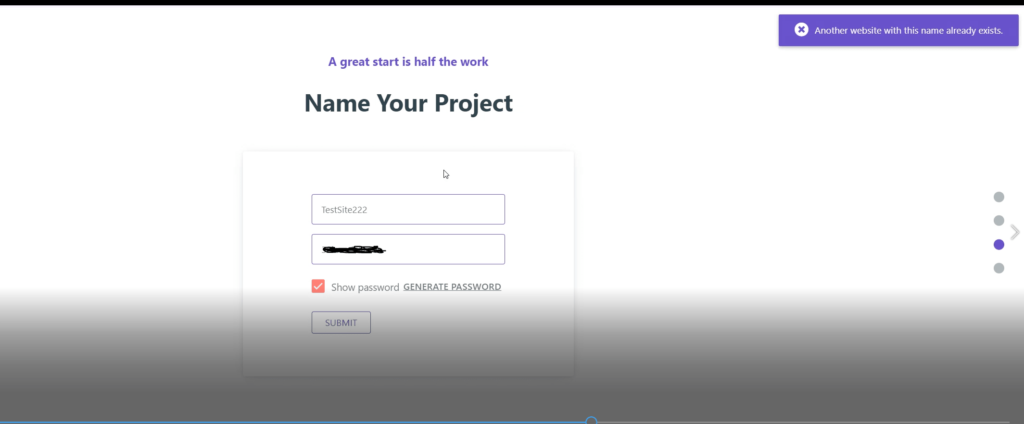
2.) We need to name our project so you need to choose a unique name for your project and based on your choice you will get a subdomain. For example, if you name your project lionsfly33 your subdomain will be https://lionsfly33.000webhostapp.com.
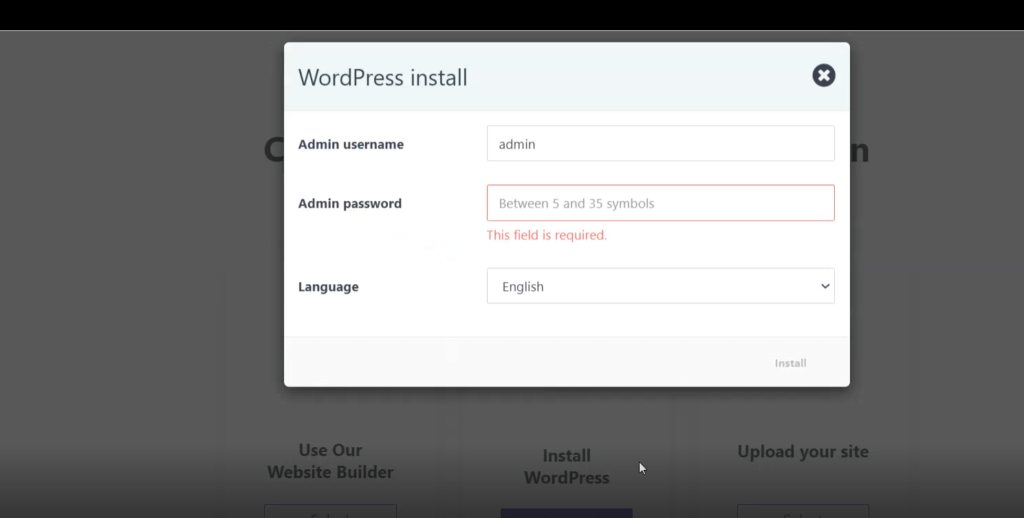
3.) WordPress login details for site management.
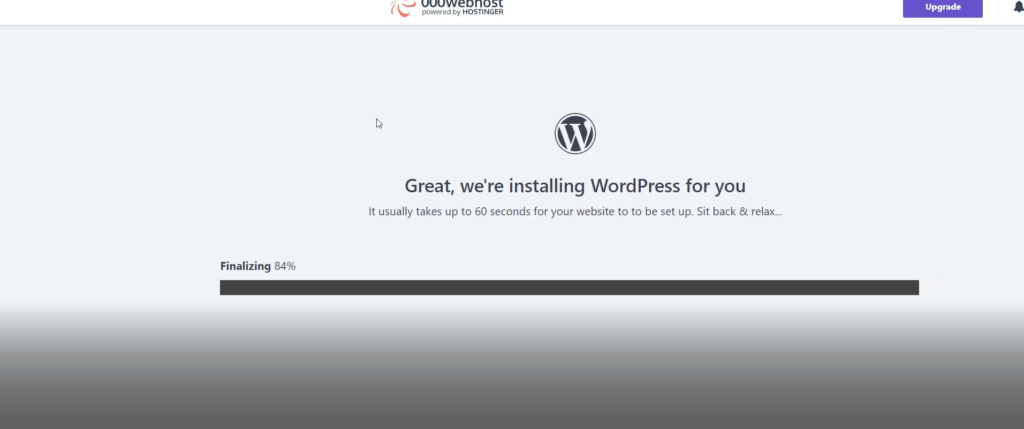
3.) Install WordPress
If you install WordPress then you need an additional username and password. The good thing is that you can always directly login with that URL :
https://(your subdomain).000webhostapp.com/wp-admin/index.php

*I know too many passwords to use. But remember our goal is to host a website for free! This experience justifies the time we will spend.
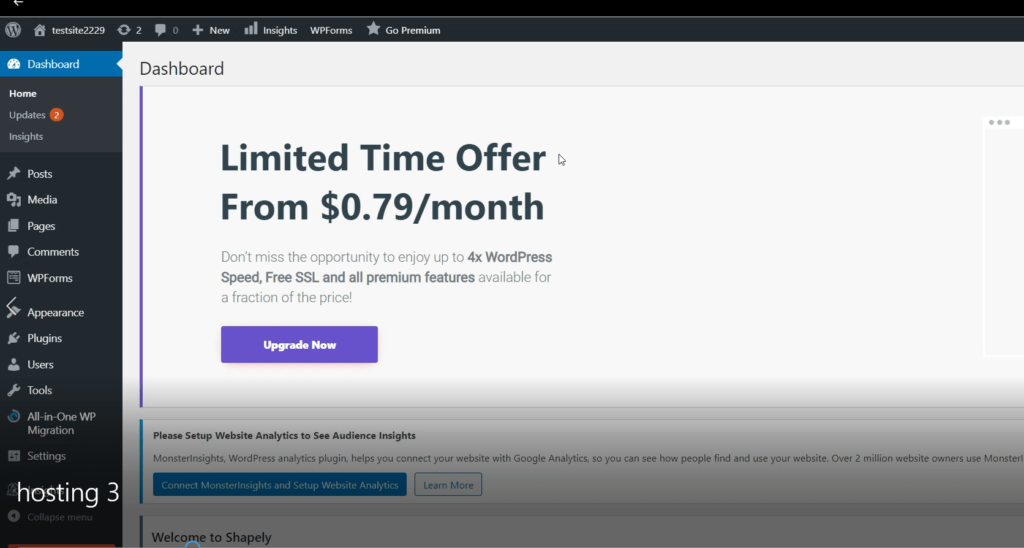
Congratulations you have created your first WordPress site! Right now you use a subdomain of 000webhostapp.com. If you don’t want to connect it with a custom domain then you are good to go.
WordPress takes some time to get used to but it is worth it. More than 1/3 of all sites use that platform. Try to change a theme, create a page, or add a new post. Here is the documentation for the basic administration settings: https://wordpress.org/support/article/administration-screens/ . Every WordPress theme is different but the previous basic settings apply to all.
4.) Connect your custom domain to your hosting account
If we don’t care our website to start with https:// and we are ok just with http:// then we can choose to park the domain with 000webhost nameservers. The difference between http:// and https:// is that the second one is more secure. The hackers can’t intercept between your online visitors and your website connection.
This is important when users submit information such as usernames and passwords. If your website has only text we don’t worry so much about that. Just don’t use the free website for getting login or payment details from your users!
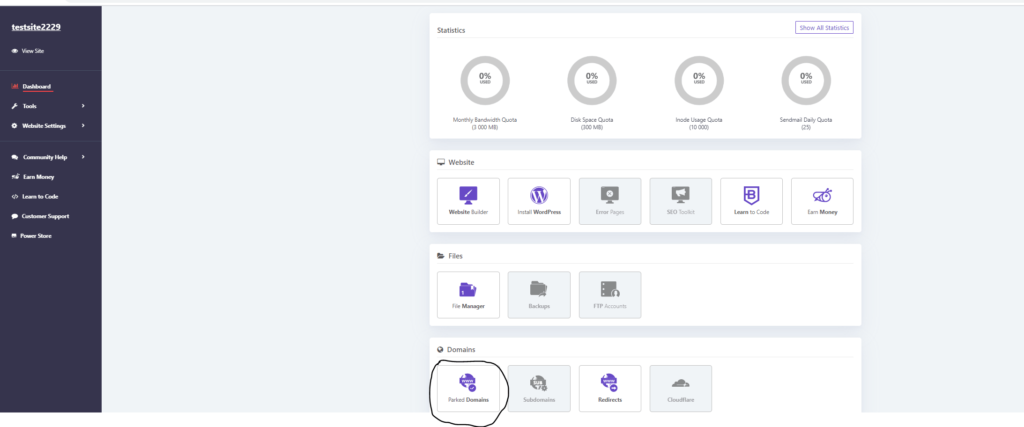
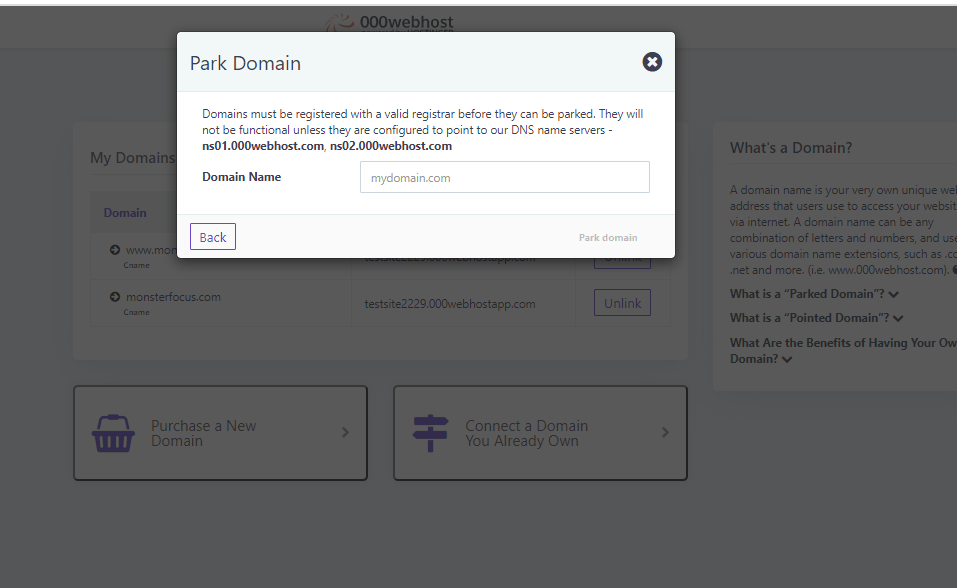
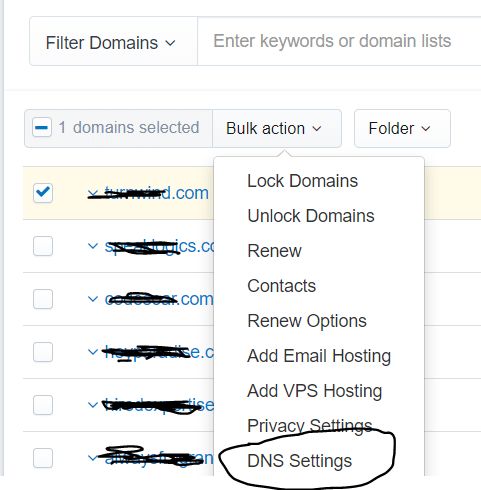
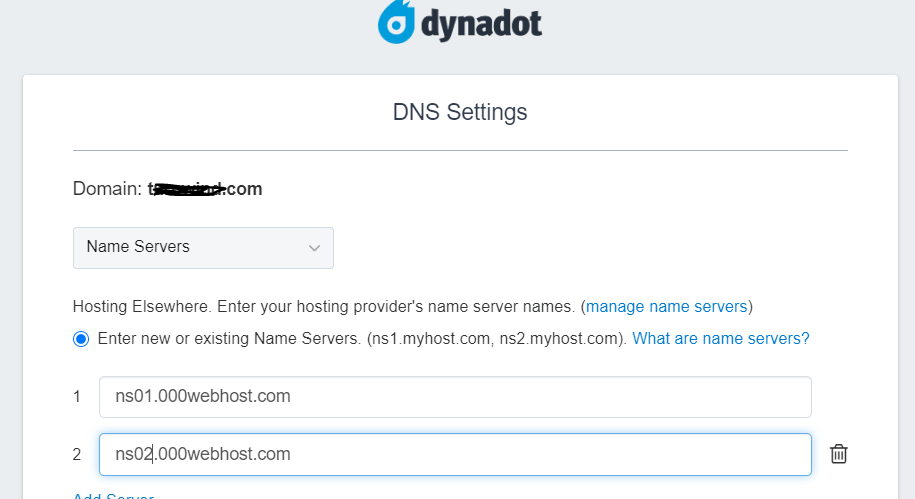
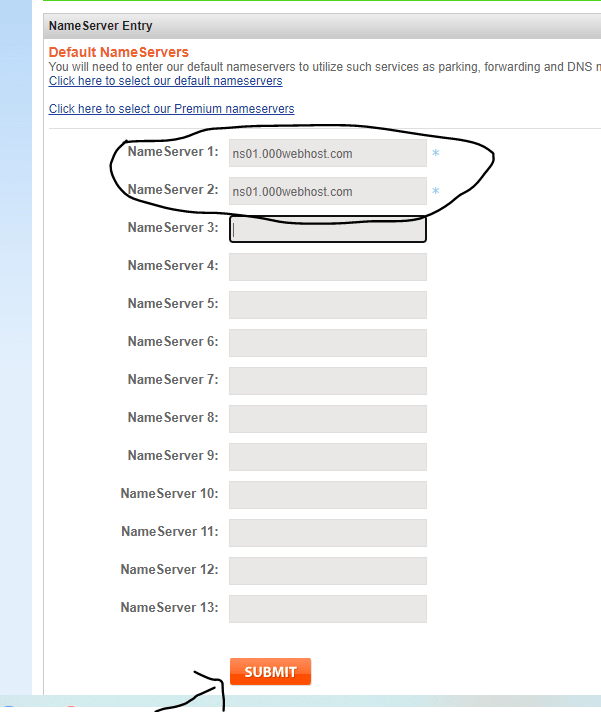
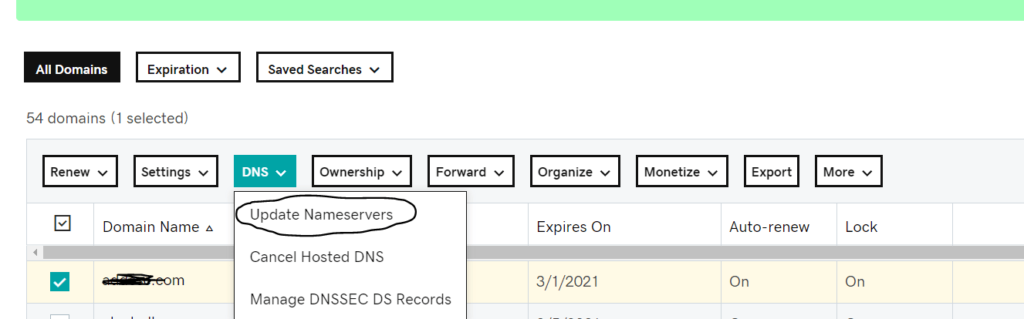
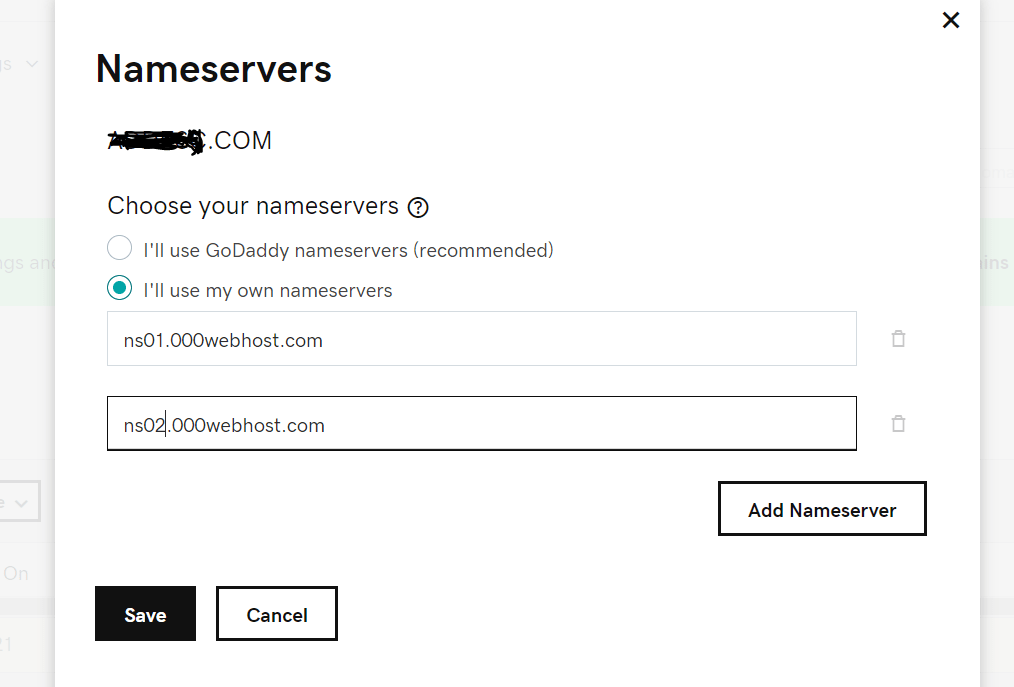
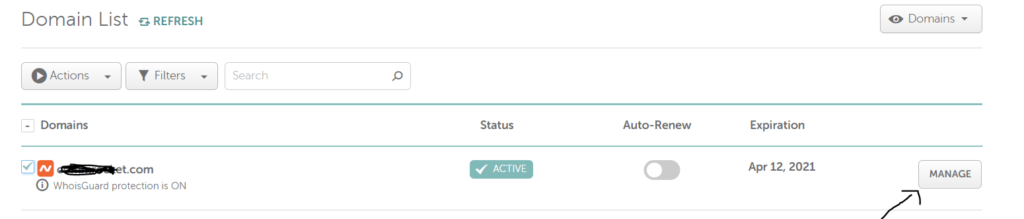
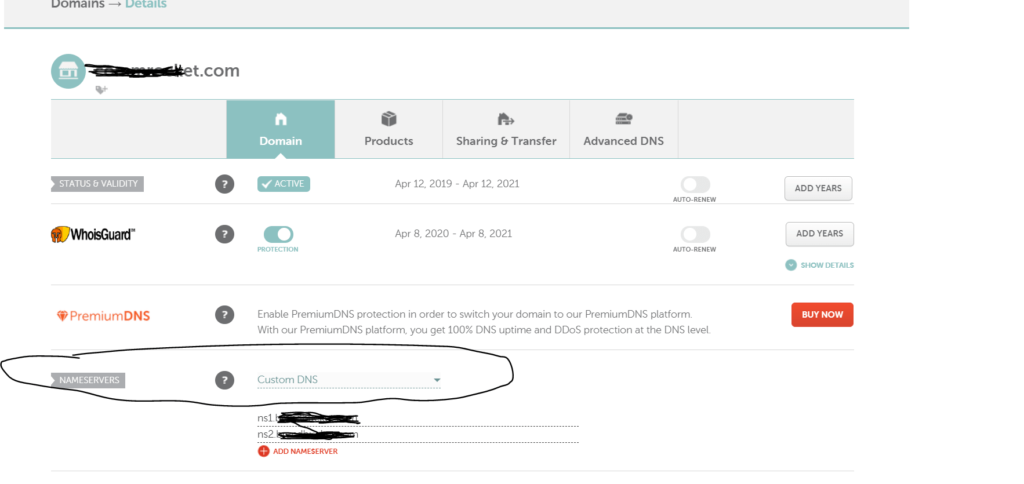
Ok if we decide to go with http option then we choose the park domain option, see the screenshots below. You need to visit your registrar’s site to adjust the nameservers. We will change them to ns01.000webhost.com, ns02.000webhost.com. It will take some time for the changes to work.
Check on the screenshots on how to adjust nameservers for different domain registrars.

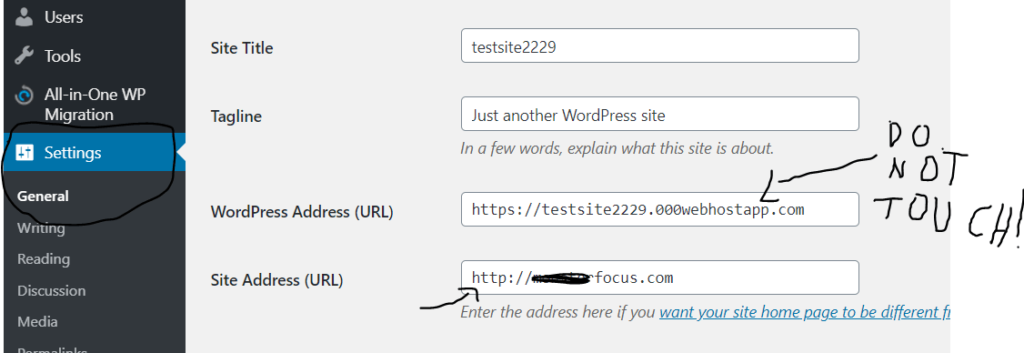
Last but not least you should visit your wordpress dashboard and adjust one more setting. Under settings > general set your Site Address (URL) as http://(your domain). Don’t touch WordPress Address (URL)! Check the next screenshot to see how it should look like:
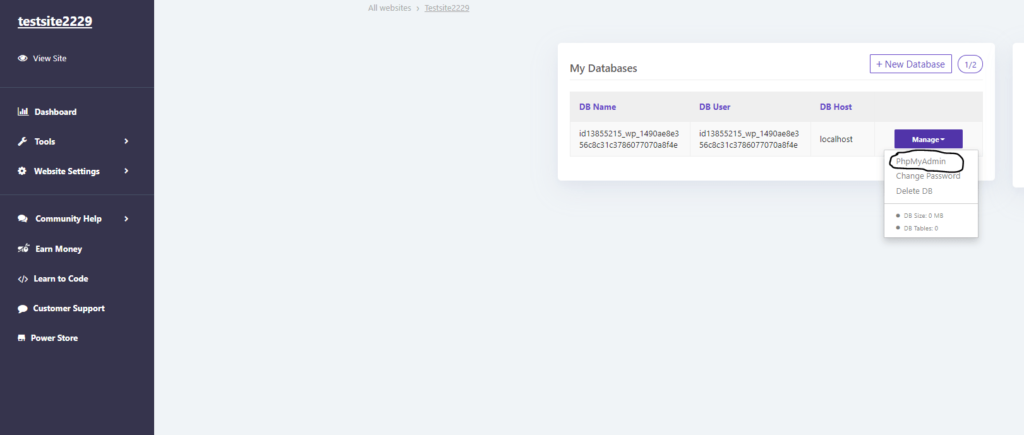
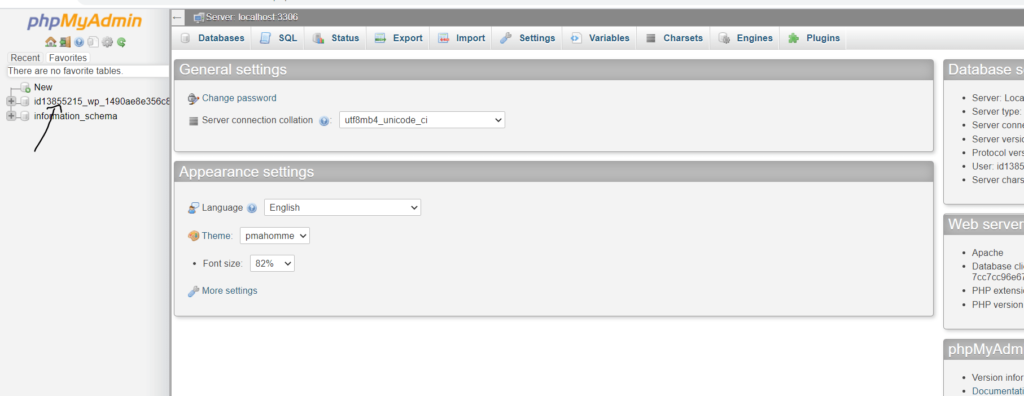
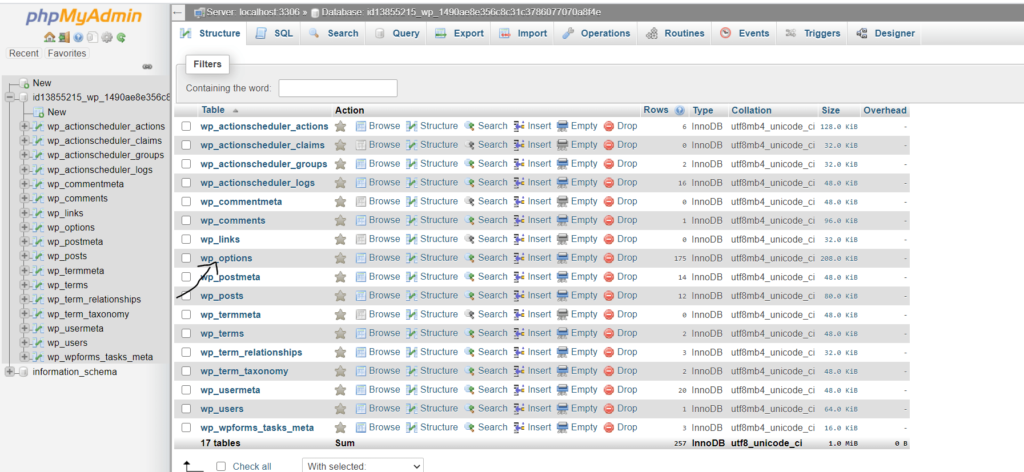
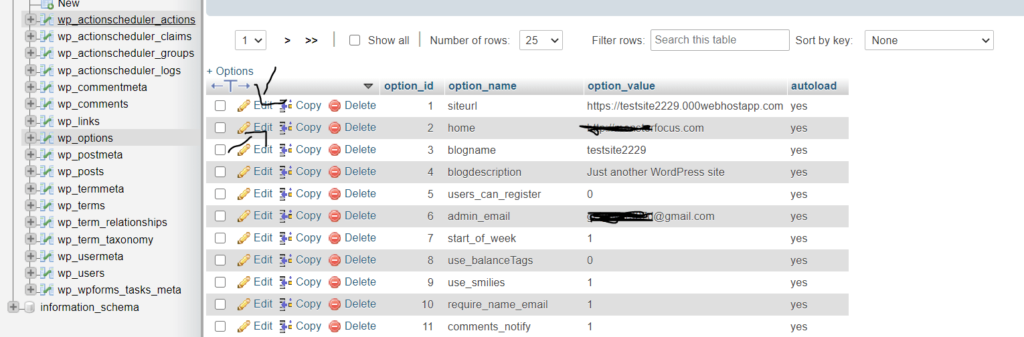
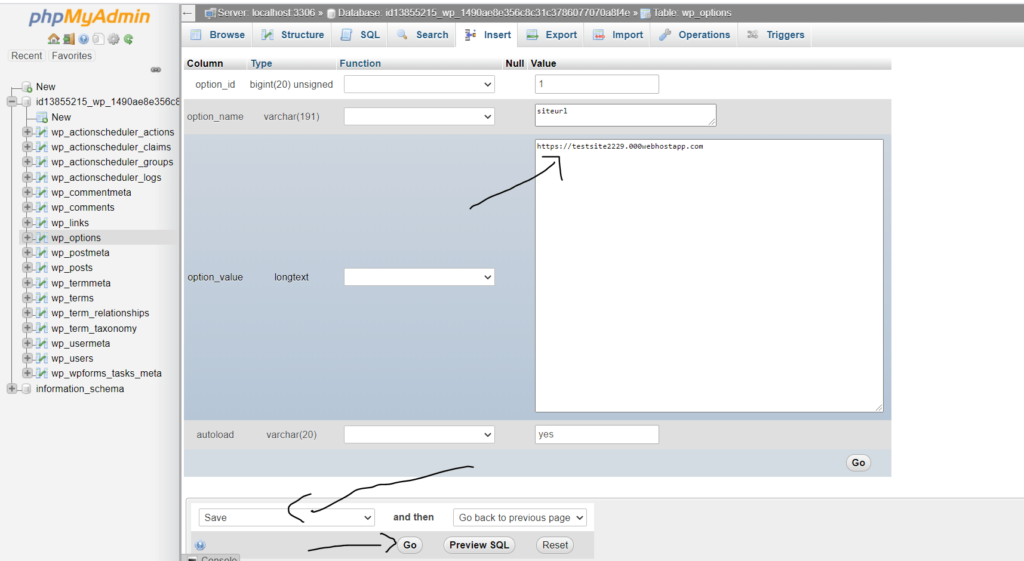
If something breaks you can readjust to previous settings with phpMyadmin. Take a look to the next screenshots, focus on the black arrows:

Well done your site is ready! If you can’t see your site yet by visiting your URL then wait some time or erase your cookies.
5.) Set up Cloudflare for *semi-secure connection
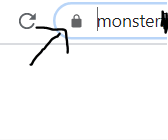
We will try to set-up https:// now so our site will seem secure to the eyes of the online visitors. Don’t take any login or payment details from your users! The site is not fully secure and we will just try to remove the “not secure” message so our online visitors don’t bounce because of that reason.
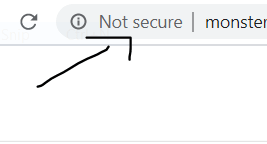
Even after our setup, the browser bar will show our site as not secure if the web page includes images. I tried some workarounds but didn’t work on my end. I will leave at the end of the paragraph some links for 000webhost forum. Maybe you will have more luck than me!
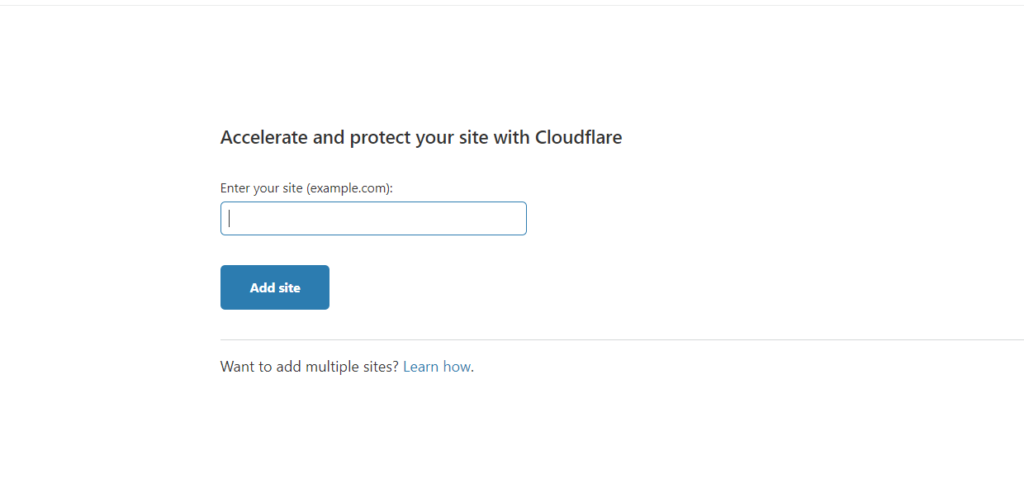
Sign up for cloudflare, add your domain and choose the free plan.
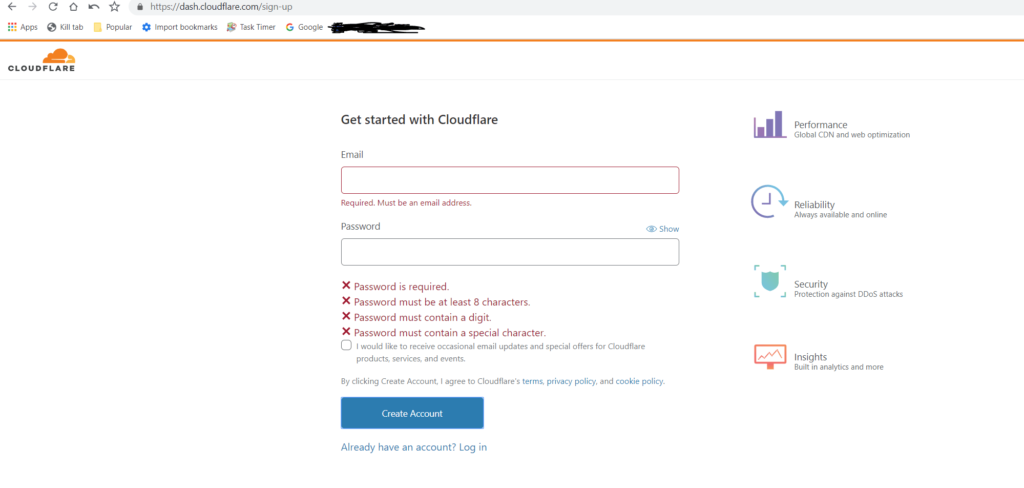
Remove (x) the 3 options you see and click confirm.
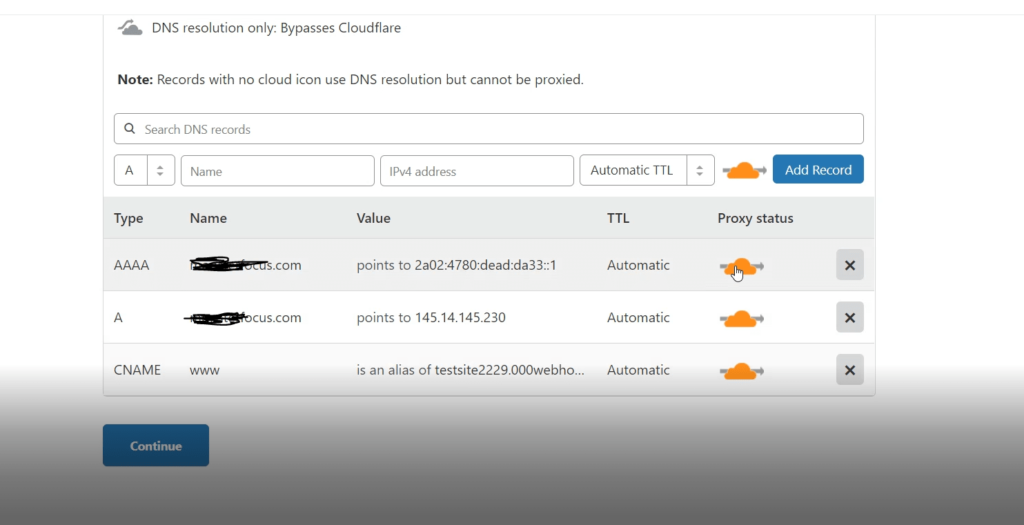
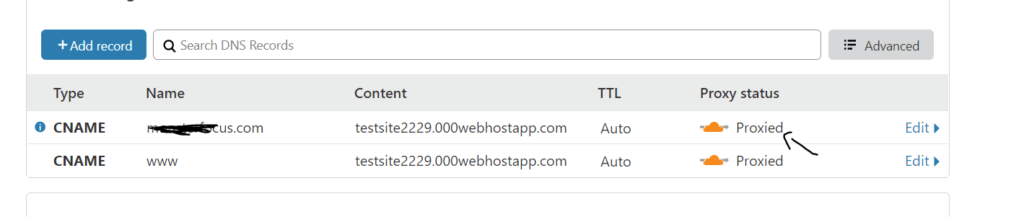
Go to the DNS section and add 2 CNAME records. The first would be Type: CNAME, Name:@, Target: yoursite.000webhostapp.com, Proxy Status: DNS only, and then save.
The second would be Type: CNAME, Name:www, Target: yoursite.000webhostapp.com, Proxy Status: DNS only, and then save.

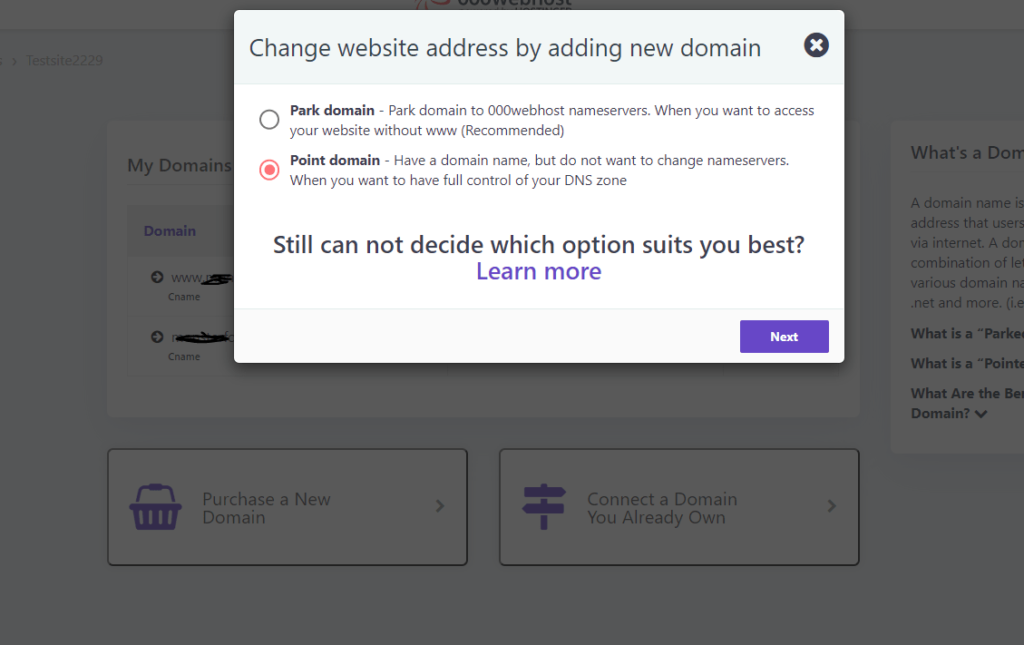
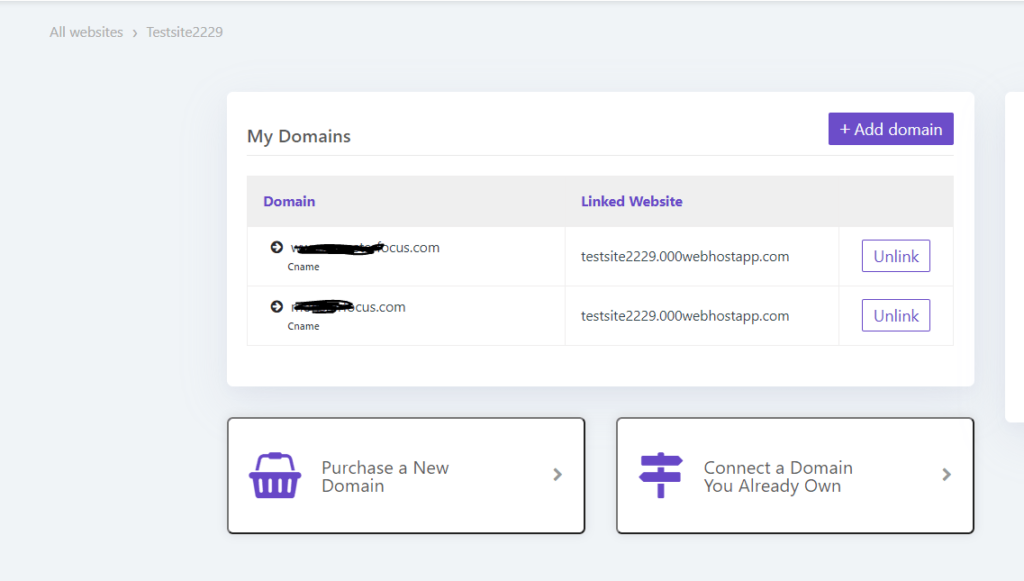
Now, go back to your 000webhost control panel. We will visit again the “parked domains” option but this time we will choose something different. We will choose the “point domain” option and then add our custom domain.
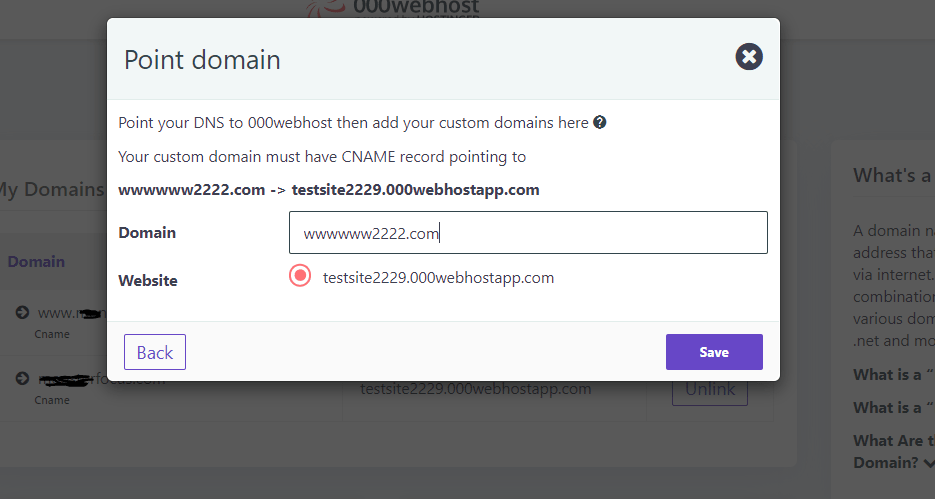
Wait to see that the domain is visible in your panel. It might take some time.
Then you move back to your cloudflare account and change the “proxy status” from “DNS only” to “proxied”.
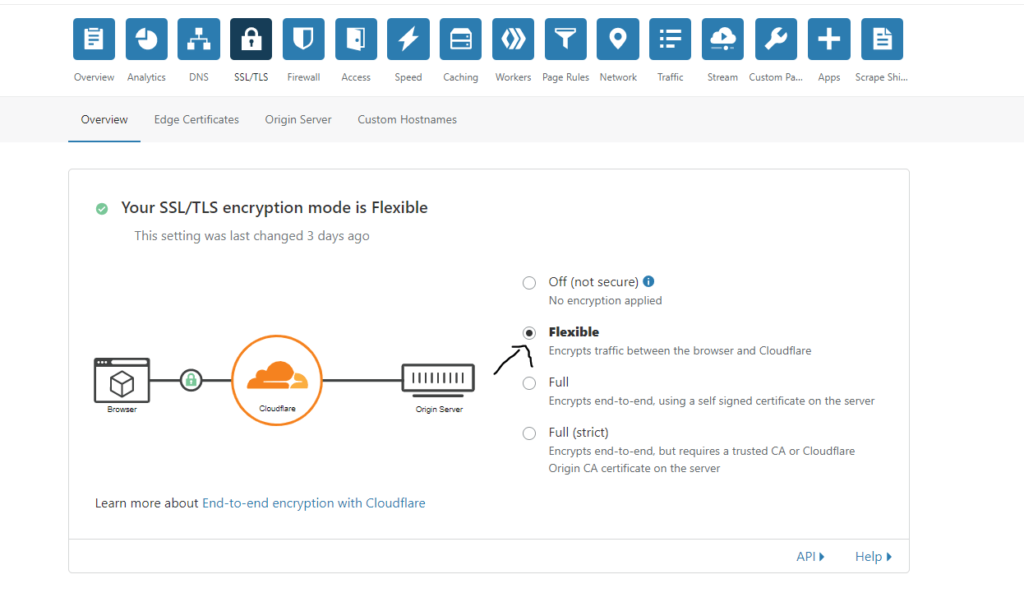
Here are the next settings you need to adjust on your cloudflare dashboard:
SSL/TLS > Overview > Flexible
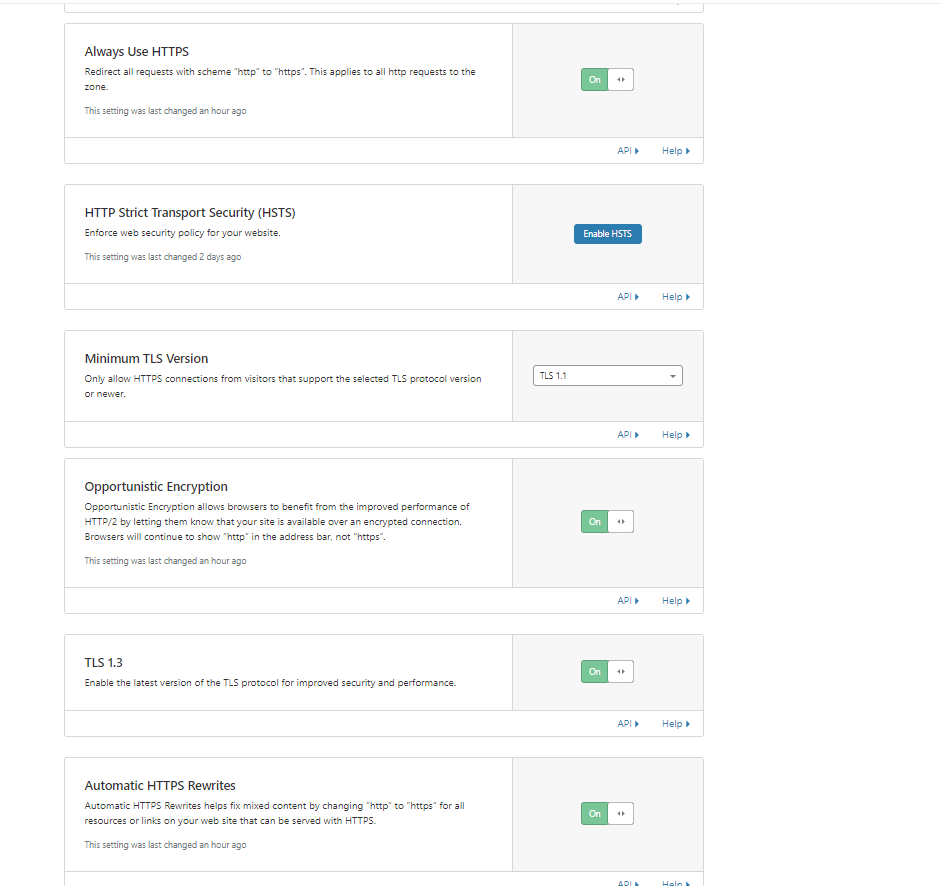
SSL/TLS > Overview > Edge Certificates I set everything to “on” but some settings might not be appropriate on your side. Do some experiments with on/off if something is broken on your site.
Now visit your WordPress dashboard, try to use that type of link if you can’t see it from your hosting panel: https://(your project name).000webhostapp.com/wp-admin/index.php
We will adjust the general settings of WordPress. Do it like the screenshot. Do not use “https” for Site Address (URL) or else you will break the site!


If you can’t login to your site, try a different browser or clear your cookies. Remember my previous suggestion for adjusting phpmyadmin settings if something goes wrong (check previous paragraph).
Congratulations you created your first wordpress site with free hosting! Keep in mind that if you receive too much traffic , your account might be suspended or your site would be down for a while. You can use free web hosting as experiment but not for a serious business site!
Check also the below links if you face any issue. You can always search the forum for any subject or post your own question.
https://www.000webhost.com/forum/t/how-to-use-cloudflare-for-ssl/53612
https://www.000webhost.com/forum/t/how-to-point-domain-name-to-000webhost-com/38026
https://www.000webhost.com/forum/t/mixed-content-issue/167247/8
Here is a very interesting point why our free WordPress site is not fully secure:
https://community.cloudflare.com/t/why-flexible-ssl-mode-is-not-the-best-choice/63531
Final Words
I hope that my post was helpful, please share on social media if you liked it. You can also read my previous post if you are interested for a quality professional hosting: Where to buy a domain name and hosting (what i use and why)